|
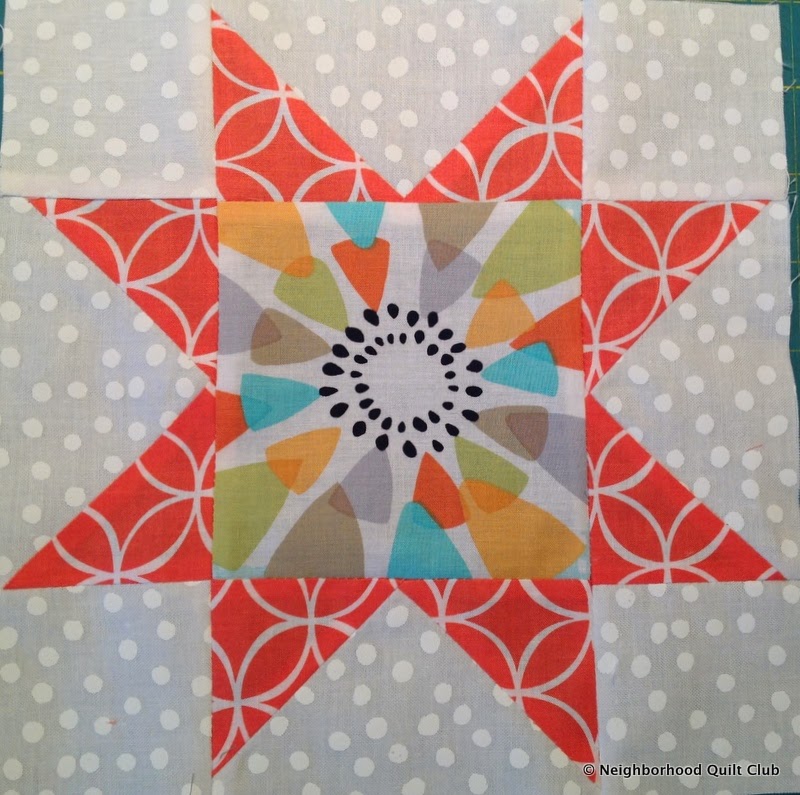
Windblown Square
8" finished |
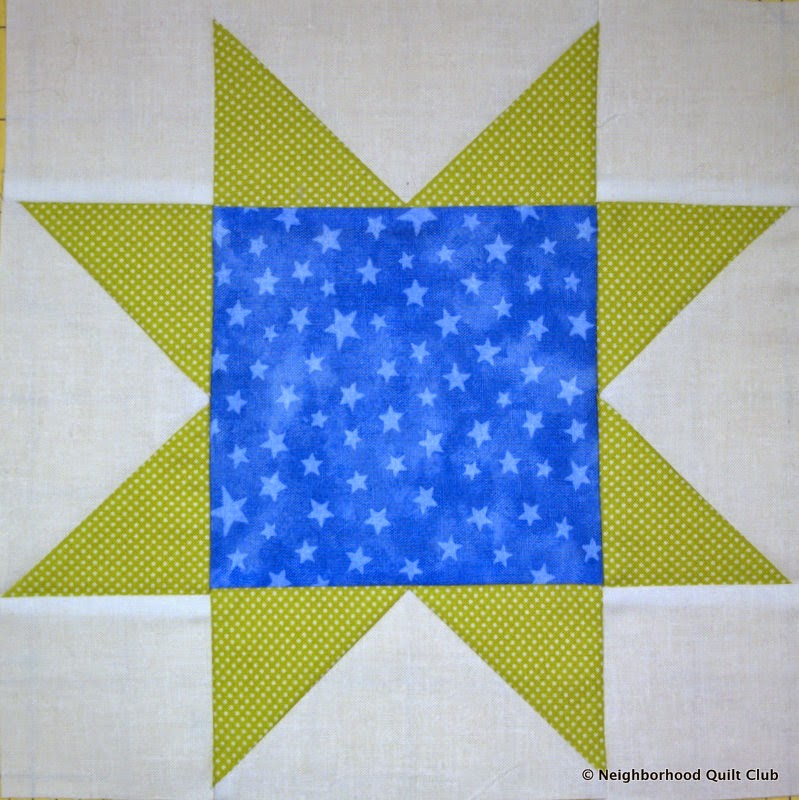
This is an intermediate block called Windblown Square. I've done a tutorial on it in a different post that you can find
here. This tutorial is for an 8" finished block, the earlier one is for a 12" finished block.
This tutorial has a different method of making the block. Instead of
making a parallelogram unit and a flying geese unit, I used half-square
triangles and flying geese. This block is a little trickier to sew all
the final units together. This isn't my favorite method, I prefer the
first method I posted because there are fewer seams in the final block,
which means fewer chances to cut off points.
However, this is a good post to review two different ways of making flying geese units. It's a long post with lots of pictures!
Step 1: Cutting the Fabric
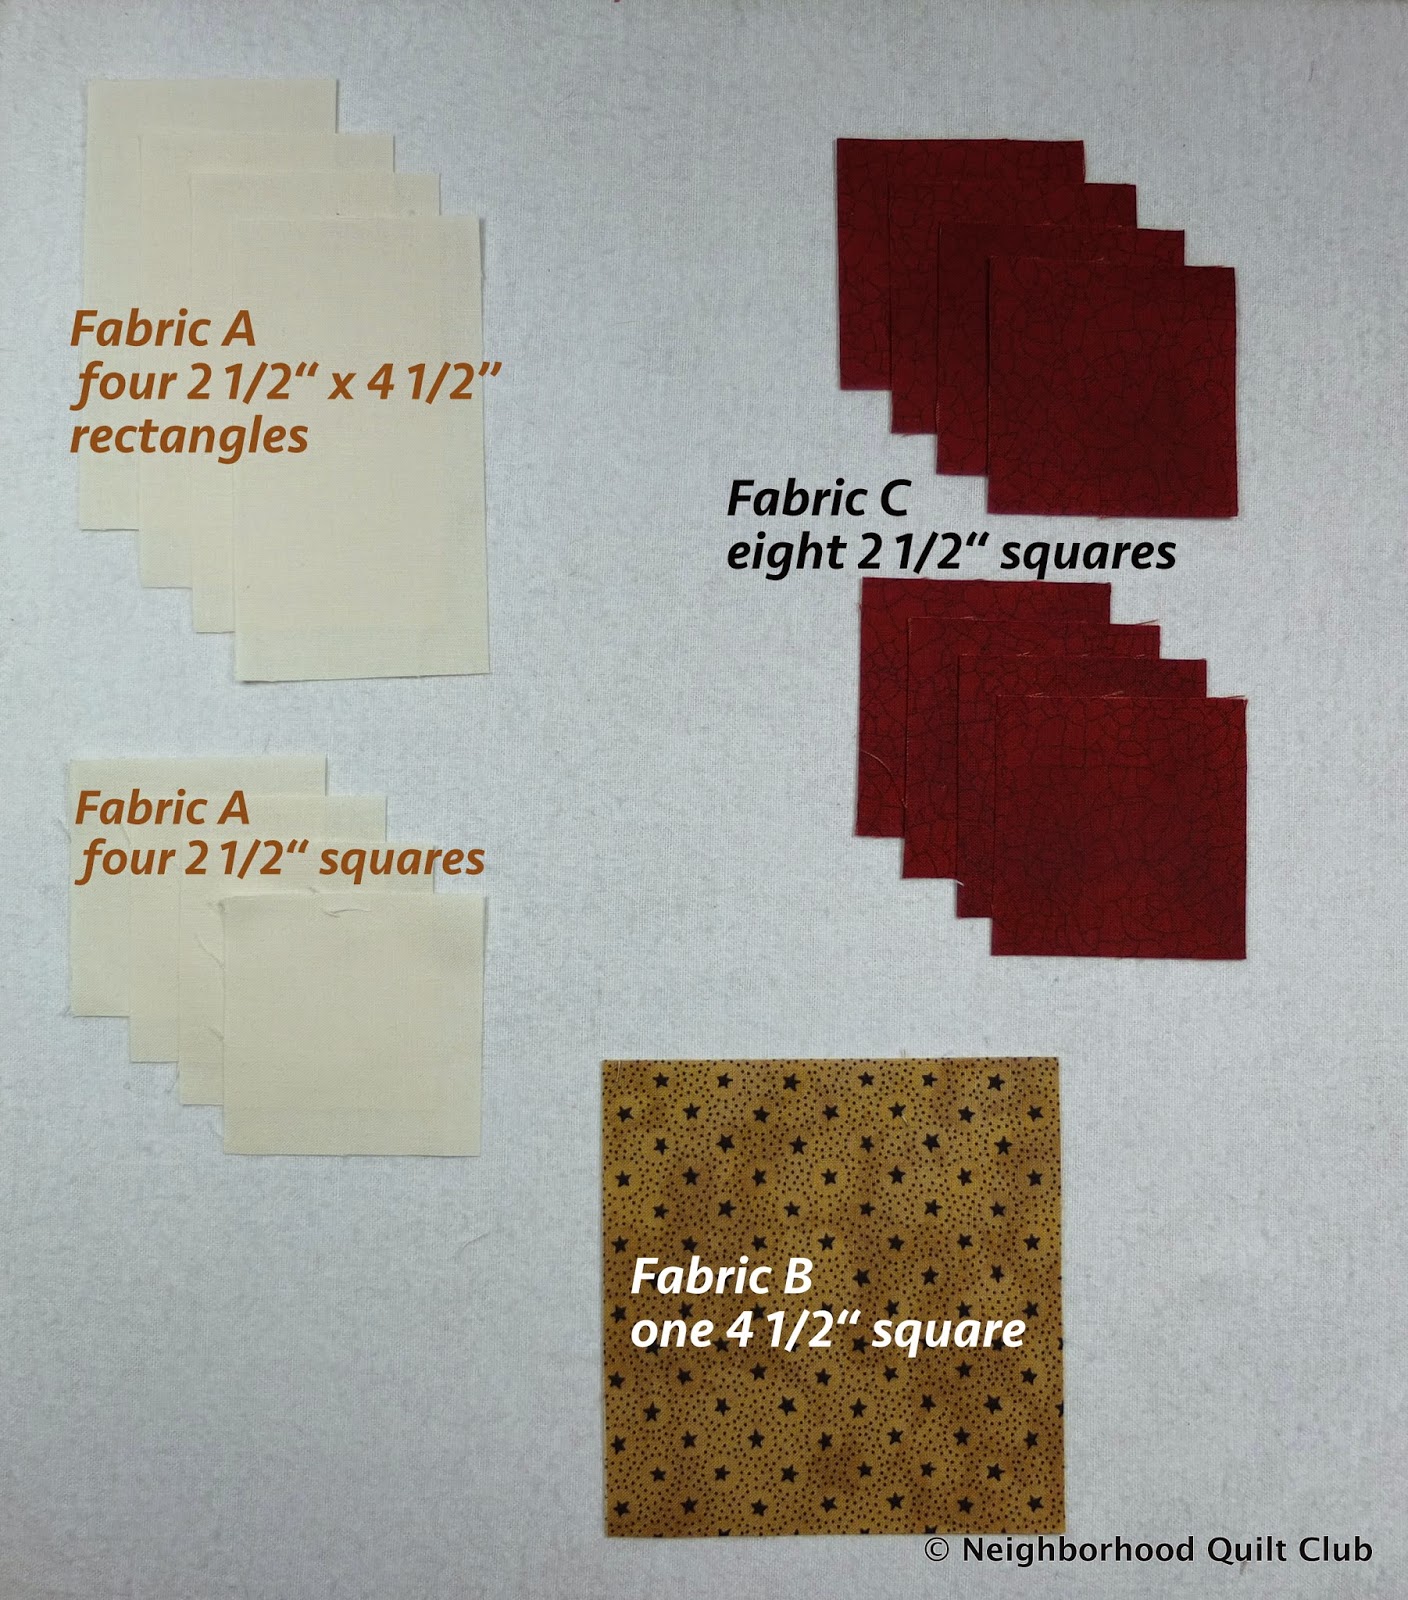
Cut from background fabric
two 3" squares
two 2 1/2" x 4 1/2" rectangles
Cut from fabric 1 (black)
one 5 1/2" square
Cut from fabric 2 (red)
two 3" squares
four 2 1/2"squares
Step 2: Getting the Pieces Ready to Sew
 |
Draw a diagonal line across the black square.
Draw a diagonal line across both of the 3" white squares.
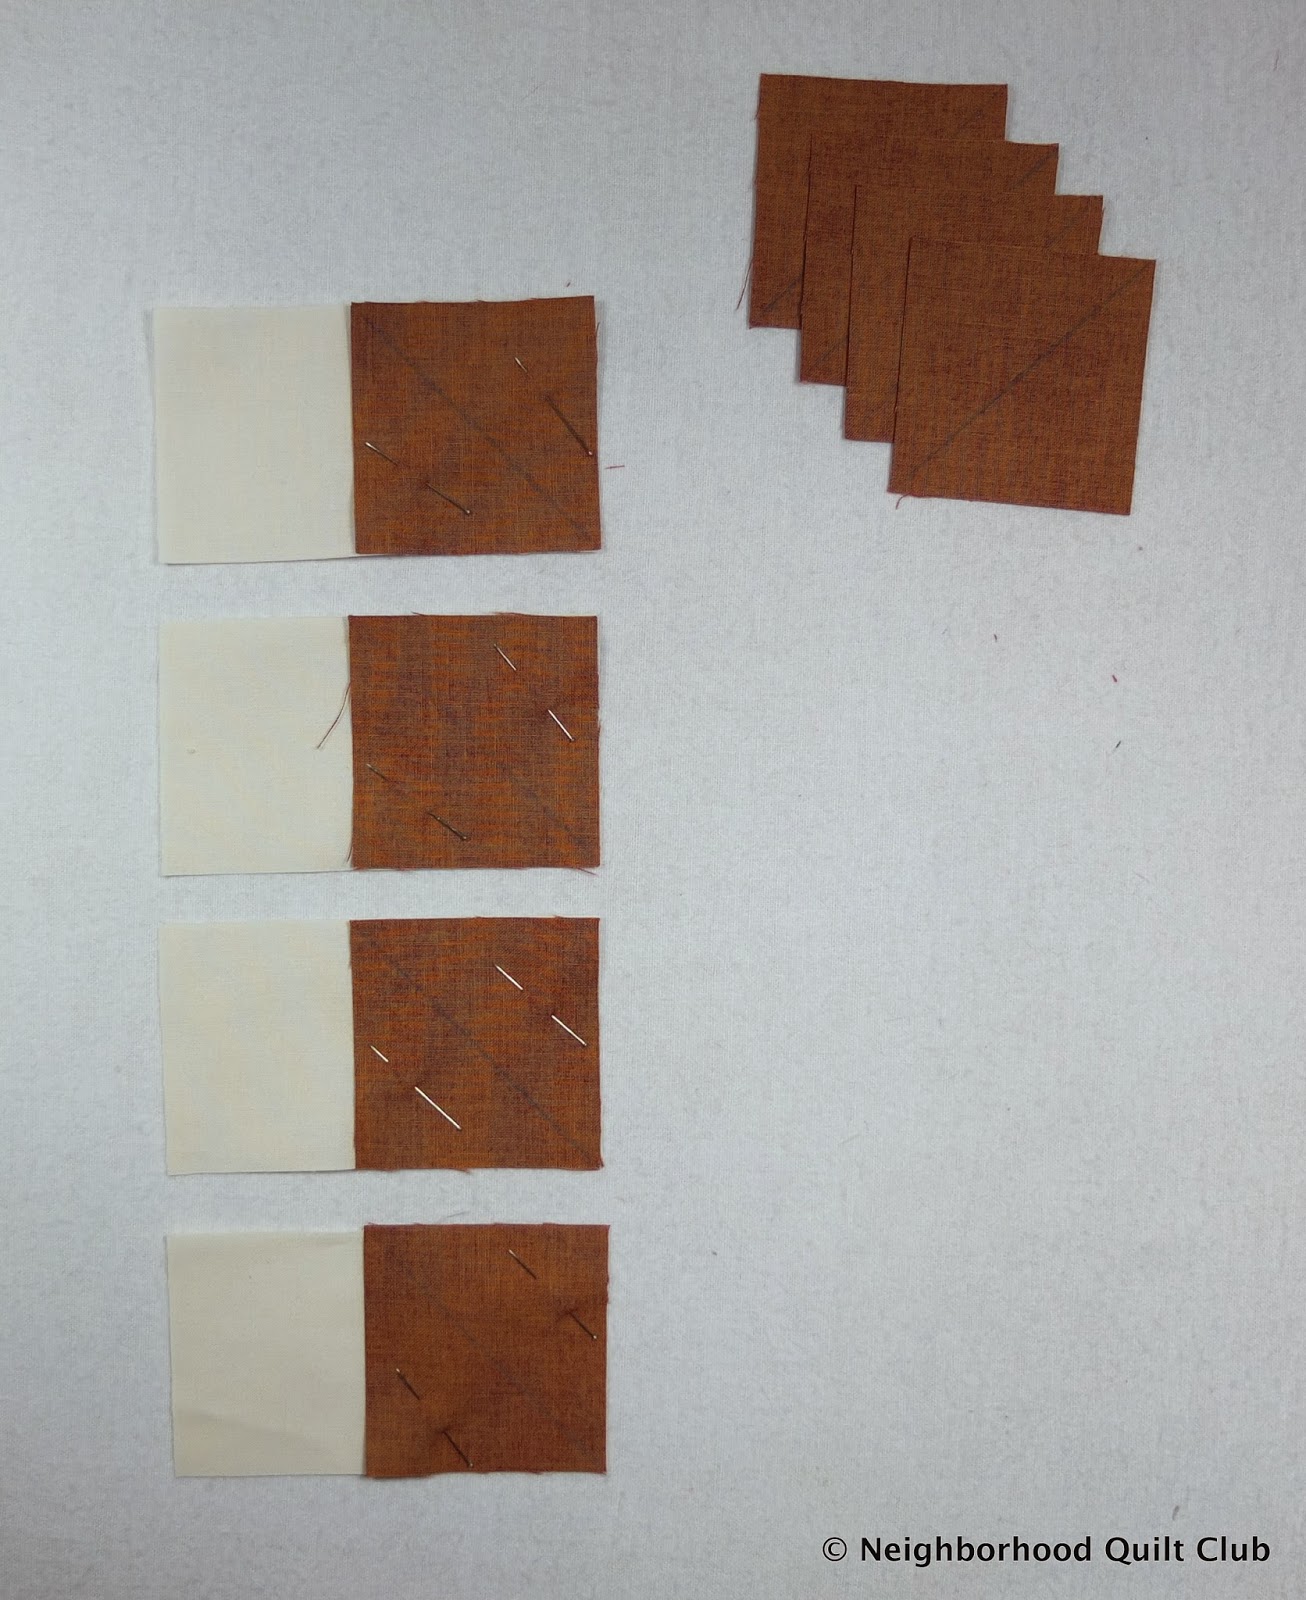
Draw a diagonal line across each of the 2 1/2" red squares (there are four)
Draw a diagonal line across both of the 3" white squares. |
Place the 3" white squares, right sides together, on the 3" red squares. We'll be making four half-square triangles just like we did in the last post:
Starting Point
Center the 5 1/2" black square on top of the 7" white square. We'll be making these into four Flying Geese units using
Flying Geese Method 2.
Place ONE of the 2 1/2" red squares on each of the white rectangles. We'll be making these into two Flying Geese units.
Place everything on your design and pressing board. The tutorial to make one is
here.
Now you're ready to sew! If you already know how to make Flying Geese Units and half-square triangle units, you can scroll down to
Step 6 and put the block together without going through a million step by step photos.
Step 3: Two Flying Geese Units Using Sew, Trim, and Flip Method
 |
| My needle is set so that it I can sew just barely on the right side of the drawn line. |
 |
| Sew just to the outside of the drawn line. Do this on both rectangles. |
 |
| Trim 1/2" away from the seam. |
 |
| This is what it looks like after you trim off the corners. |
 |
Press the triangles to the outside.
|
 |
| Pin the other red 2 1/2" squares to the other end of the rectangle and repeat sewing just to the outside of the line. Pinning keeps the square from shifting. If you don't want to pin, that's okay. Just make sure that your square doesn't shift while you sew. |
 |
You can see the stitching on the outside of the line.
|
 |
Trim the corner as you did for the other side.
|
 |
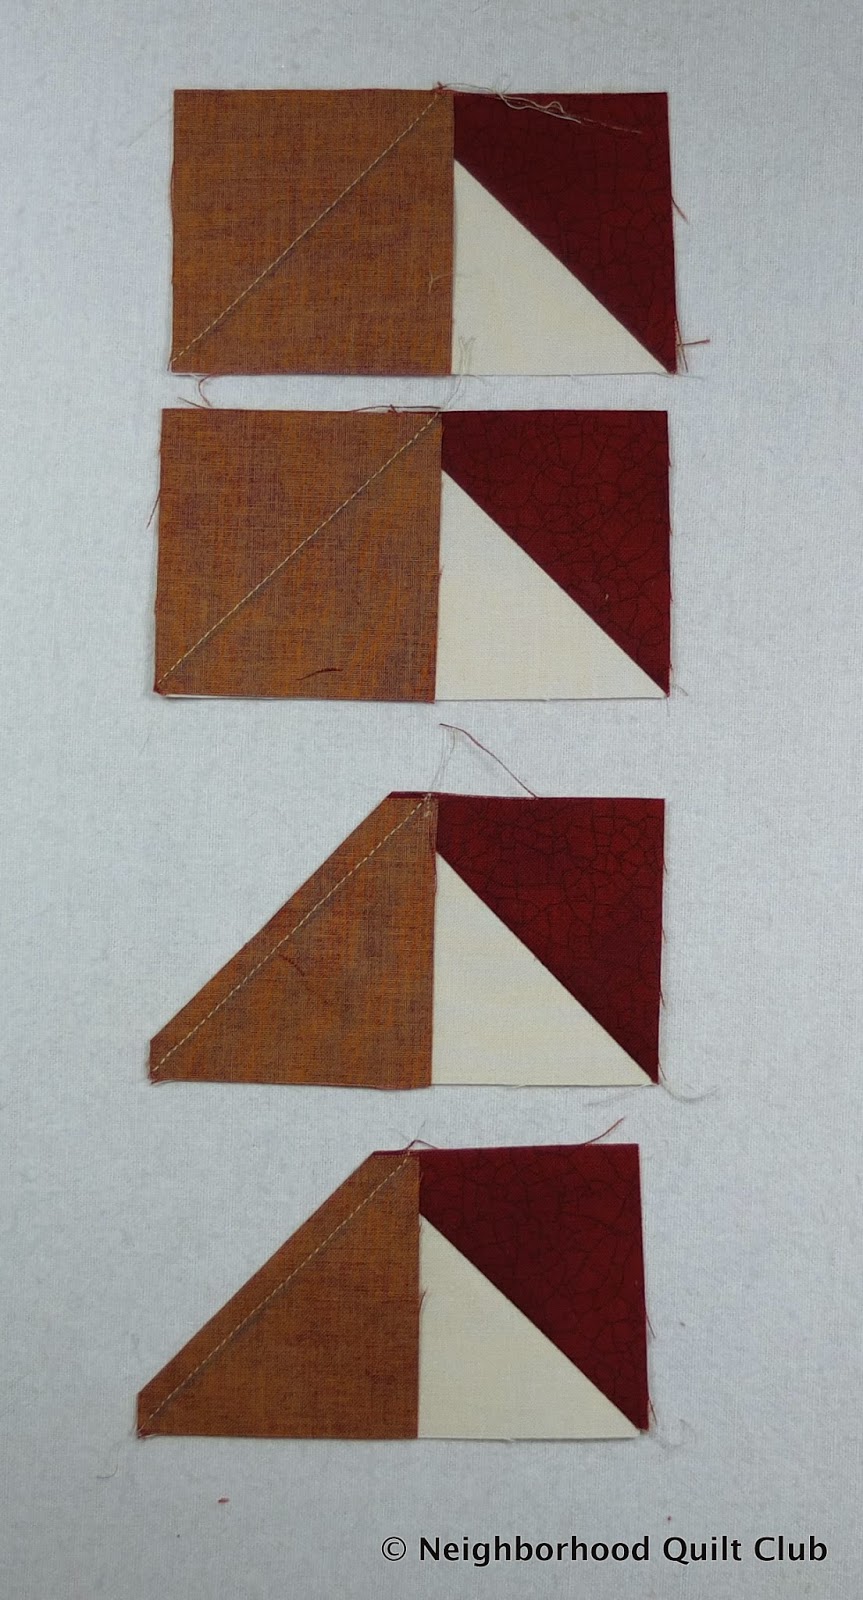
This is what your pieces should look like after you've trimmed the corners off.
|
 |
Press the other corner out and your Flying Geese units should look like this.
|
 |
| Trim the blocks to 2 1/2" x 4 1/2". |
Step 4: Four Flying Geese Units using the Quilt in a Day Flying Geese Ruler
This is my favorite way of making Flying Geese Units. It's very precise and I get accurate units and sharp points every time! I'm using the
Large Flying Geese Ruler 4 x 8 by Quilt in a Day.
 |
| Pin the pieces together so they don't shift while you are sewing. I always pin these pieces together because they are large and shift while I'm sewing. |
 |
| Sew a scant 1/4" on either side of the drawn line. You only sew the inside square, you don't sew on the larger square. |
 |
| Cut on the drawn line. |
 |
| I know it looks odd and it's a little tricky to do, but press towards the larger square. |
 |
| Draw another diagonal line across one of the pieces. |
 |
| Place squares right sides together, the square with the diagonal line on top, pin in place. |
 |
| Pin! You really need to pin this so the pieces don't shift while you are sewing. The seams are not nested and this causes some shifting if you aren't careful. |
 |
| Sew a scant 1/4" seam on both sides of the diagonal line. |
 |
| Cut along the diagonal line. |
 |
| Make a clip from the cut edge to the seam without going through the seam. |
 |
| See the clip in the middle of the seam? |
 |
| Press the dark towards the light so that black triangles are pressed out. The block on the left shows what it looks on the right side after it's been pressed. |
 |
| Use the end of your Flying Geese Ruler that says 2" x 4" Finished Geese. Place it just as you see in the photo with the dashed line at the top of a triangle and the red triangle on the ruler matching up with your sewn triangle. |
 |
| Trim along three sides. |
 |
| Flip the unit over and match the red line to the bottom of your Flying Geese unit, and both sides of your unit to the edges of the ruler. |
 |
| Trim along the top edge of the ruler. |
Trim all the Flying Geese units the same way. You should have four Flying Geese Units from two squares of fabric.
Step 5: Sewing Four Half-Square Triangles (This is easy!!)
 |
| Instead of cutting these squares 2 7/8" we cut them 3". We get a more accurate unit because we can trim them down when we're done sewing the unit. See the pins? Using pins = more accurate units! |
 |
| Sew a scant 1/4" seam on both sides of the diagonal line. |
 |
| Cut along the diagonal line. |
 |
| Press towards the dark side of the unit. If you place the dark side on top while you are ironing, then set the seam, you can flip the dark side up and press. It makes it easy to get the seam towards the dark side. |
I've used both
Marsha McCloskey's 6" Precision Trimmer and the
Quilt in a Day 6 1/2" Square Up Ruler. I like them both.
 |
| This is the Precision Trimmer. Line up the 2 1/2" horizontal line with the seam on your half-square triangle unit. Trim along both sides of the top. |
 |
| After the first trim, it will look like this. |
 |
| Flip the block 180˚ and line the 2 1/2" line on the ruler with the seam line. Trim off the two edges. |
 |
| This is what it looks like after the unit is completely trimmed. |
Step 6: Putting the Block Together
 |
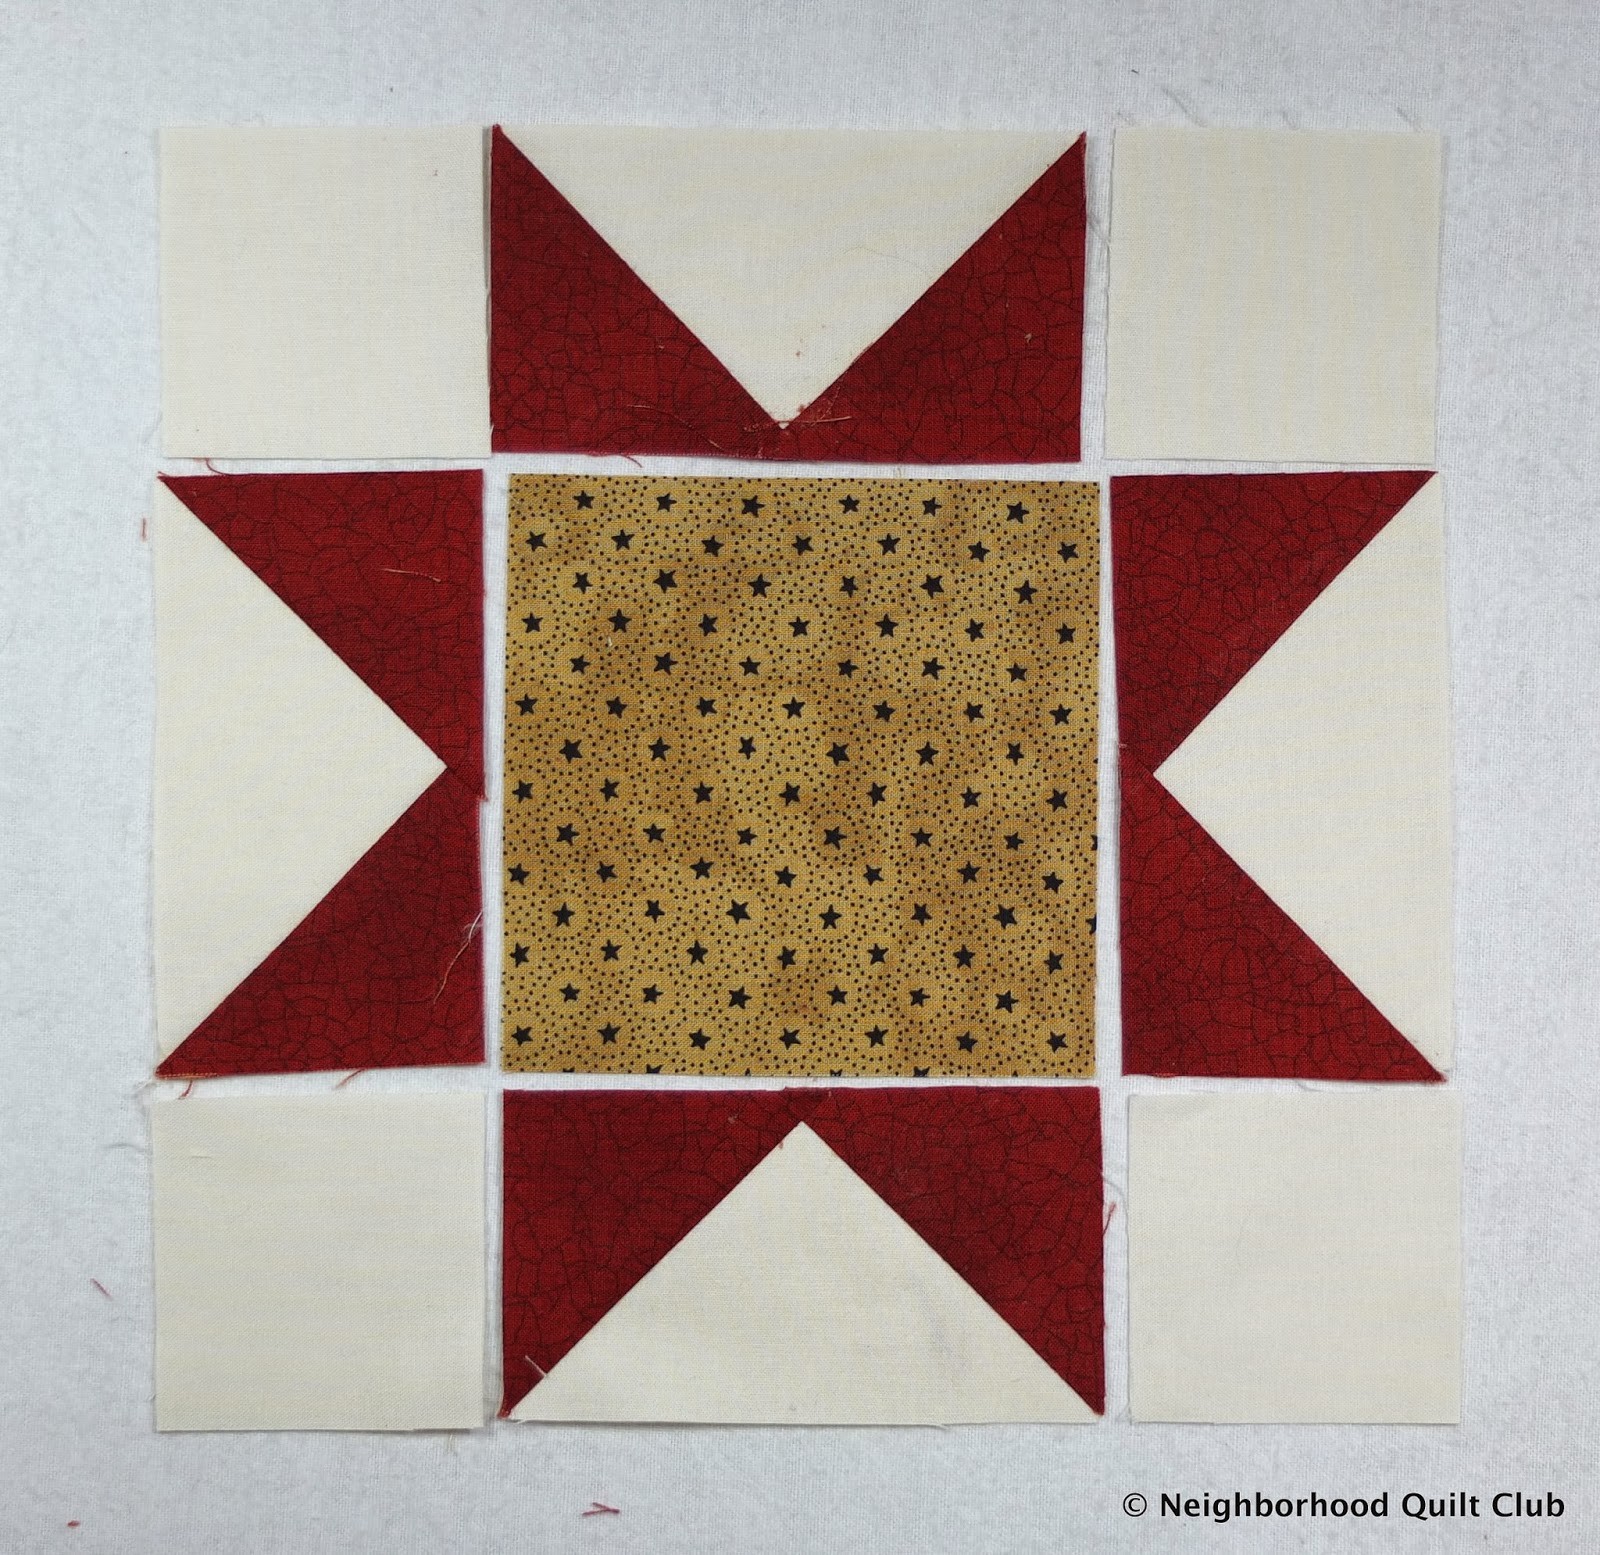
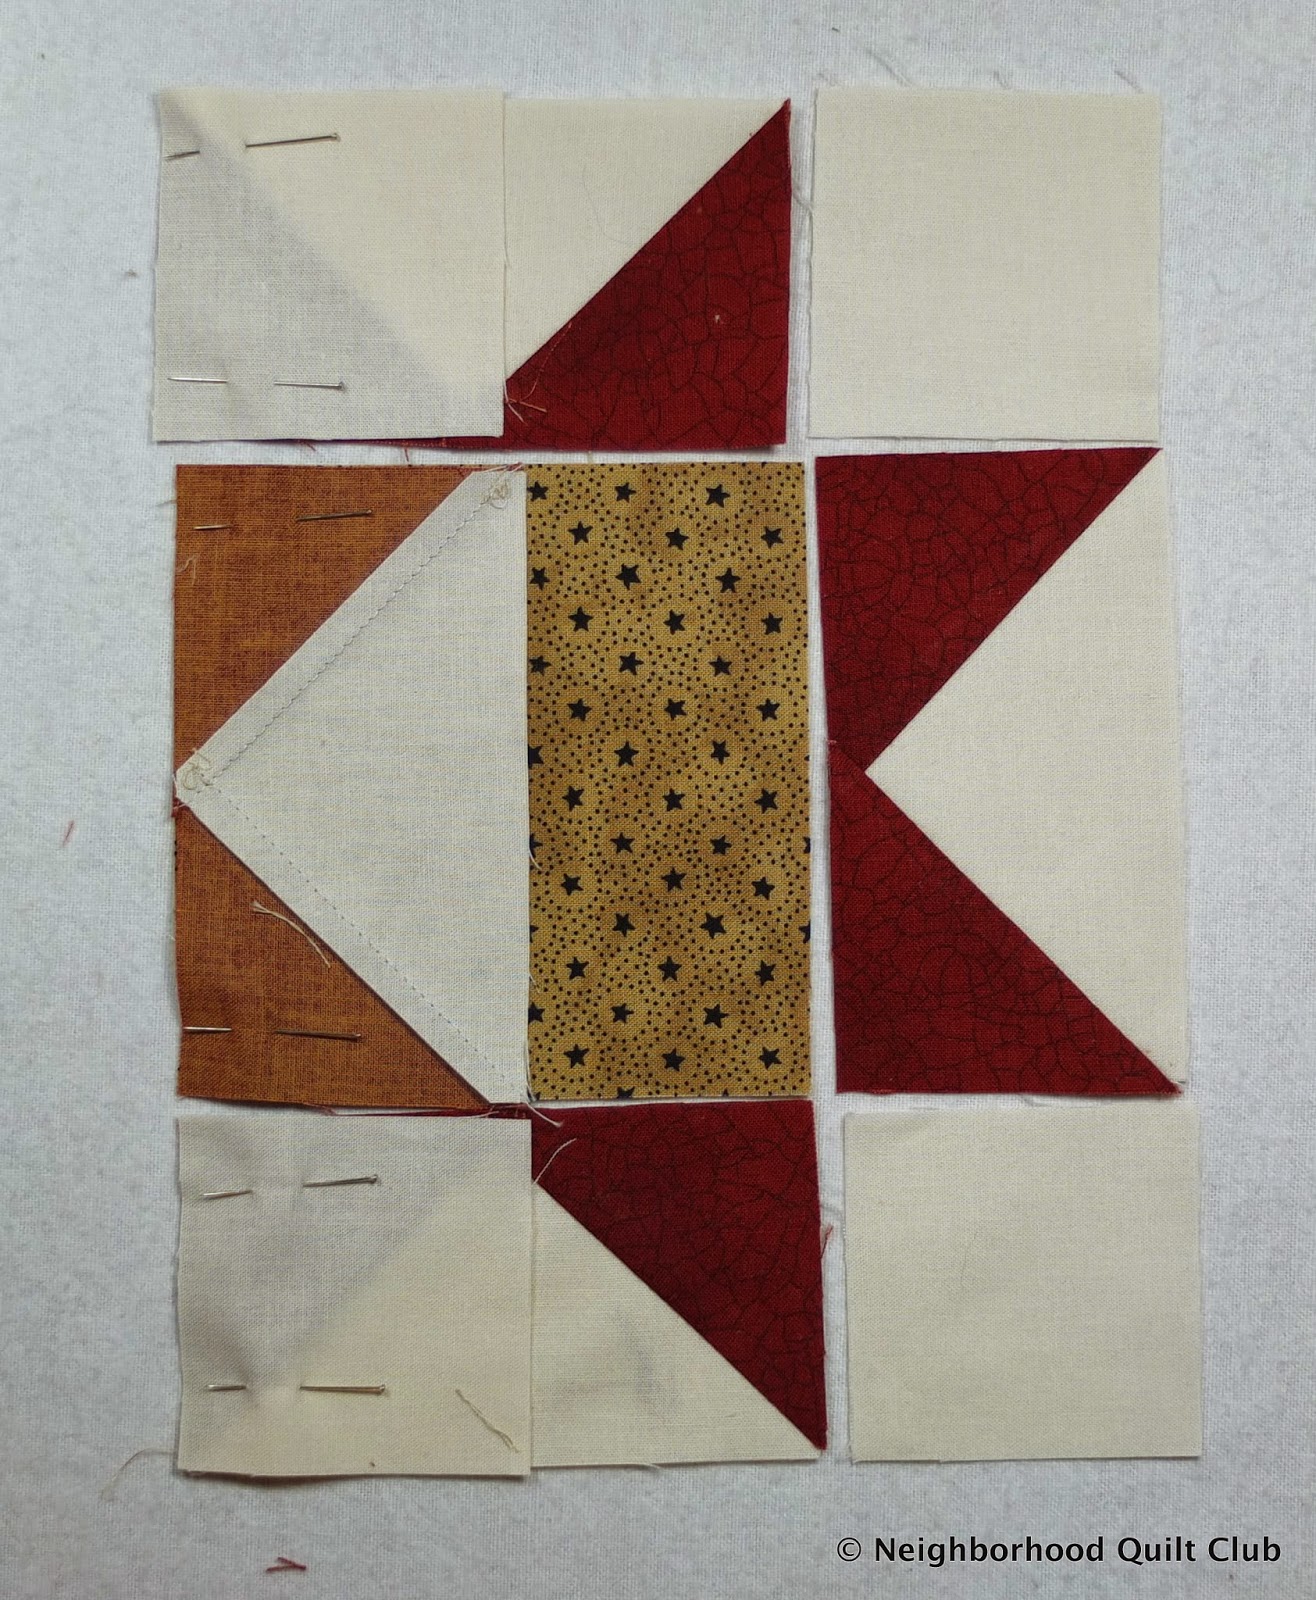
| Set up your units on your board so you can see how the block is going together. This isn't a straight forward block that you can put pieces together. |
If you are an experienced quilter you can see by the set up in the photo above how to sew the block together. If you aren't experienced, keep ready and looking closely at the photos.
 |
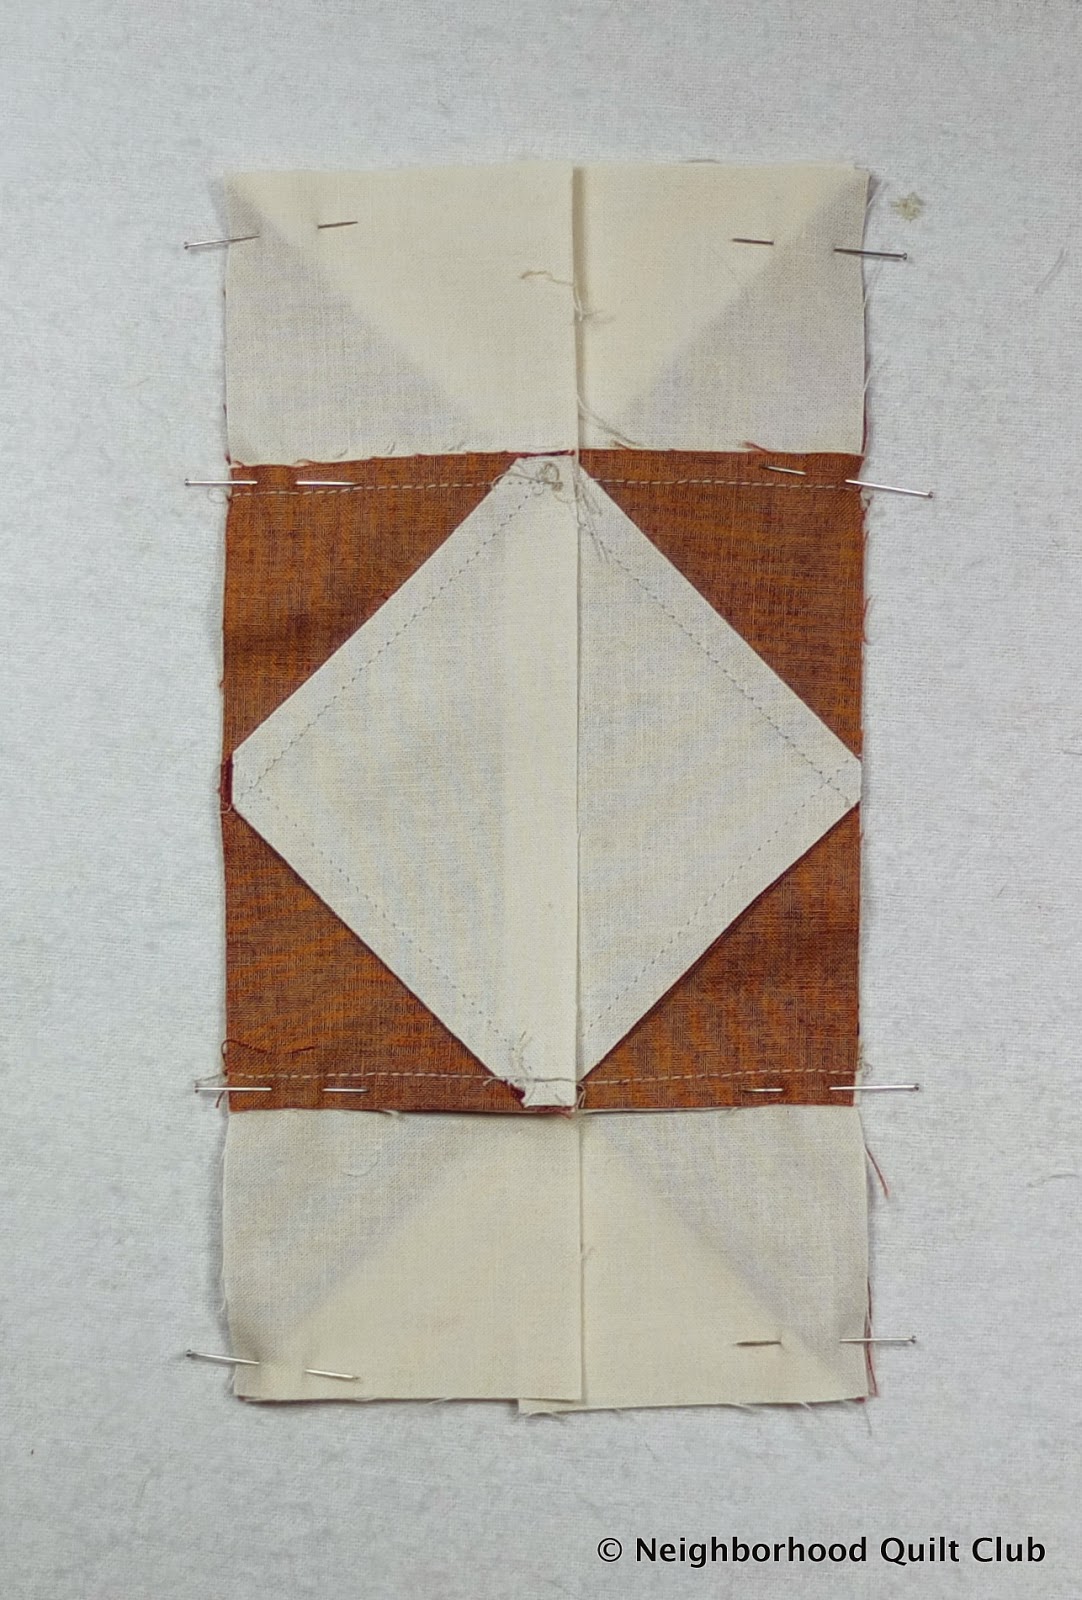
| Place the half-square triangle units right sides together on the neighboring Flying Geese units. Pin in place. |
Sew a scant 1/4" seam where you've pinned. Press open or towards the half-square triangle.
 |
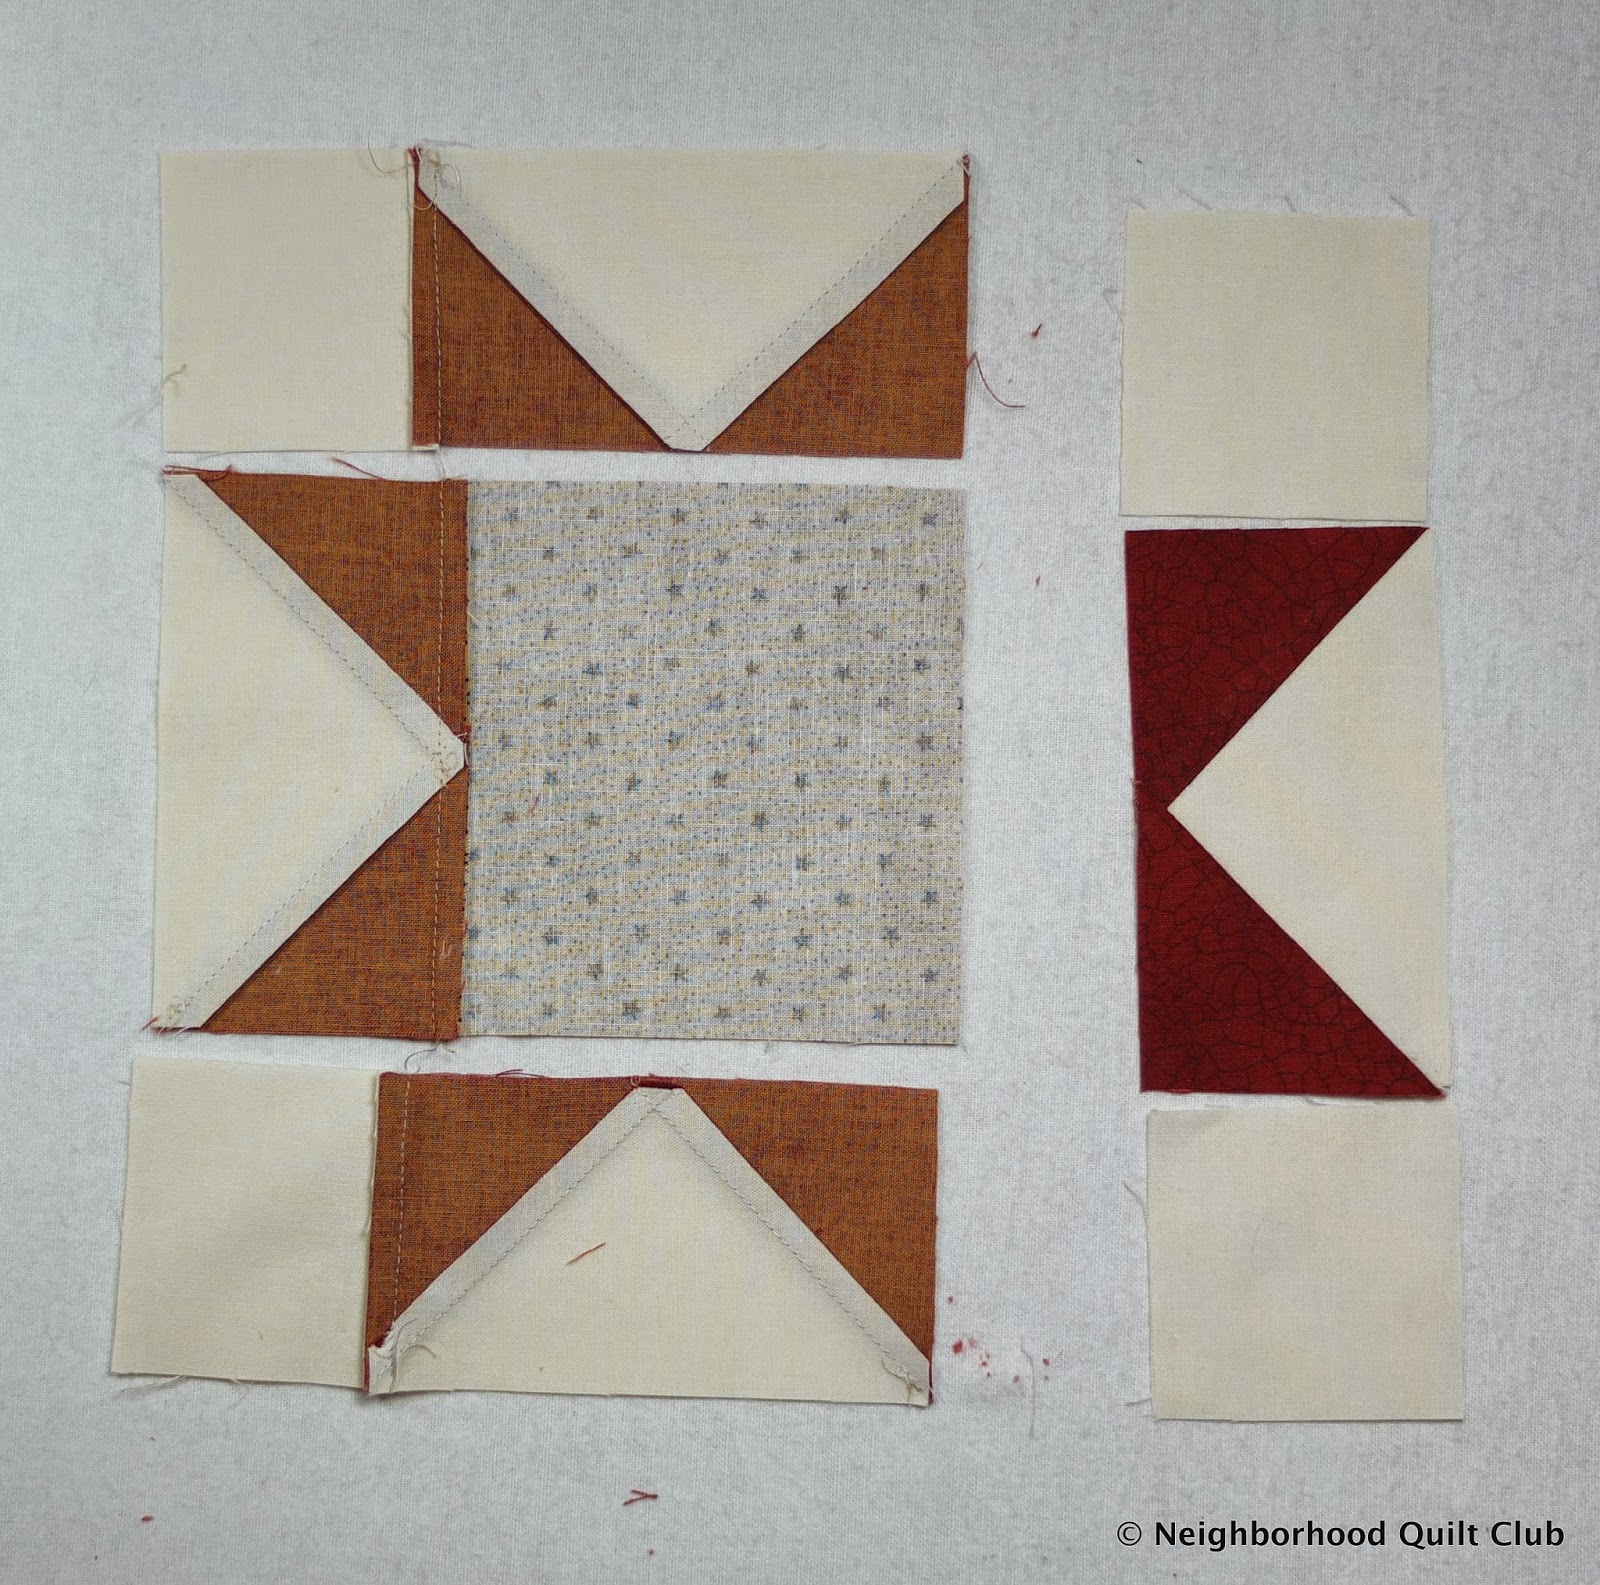
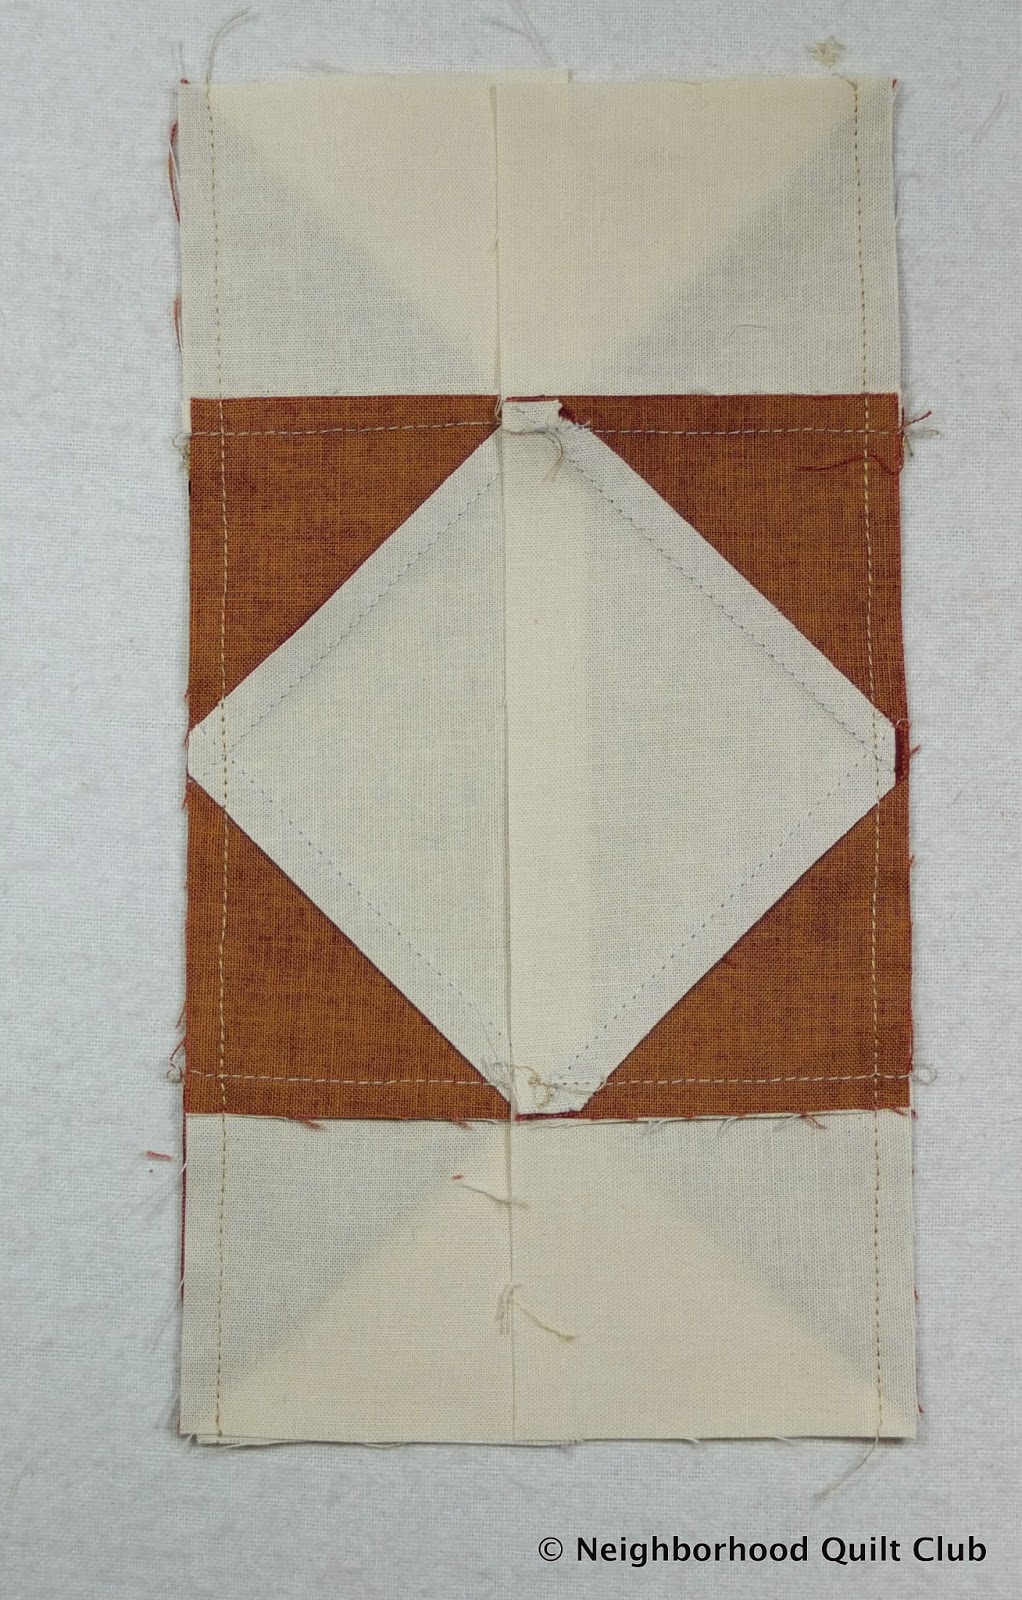
| Place the pieces you just sewed right sides together and pin in place. |
 |
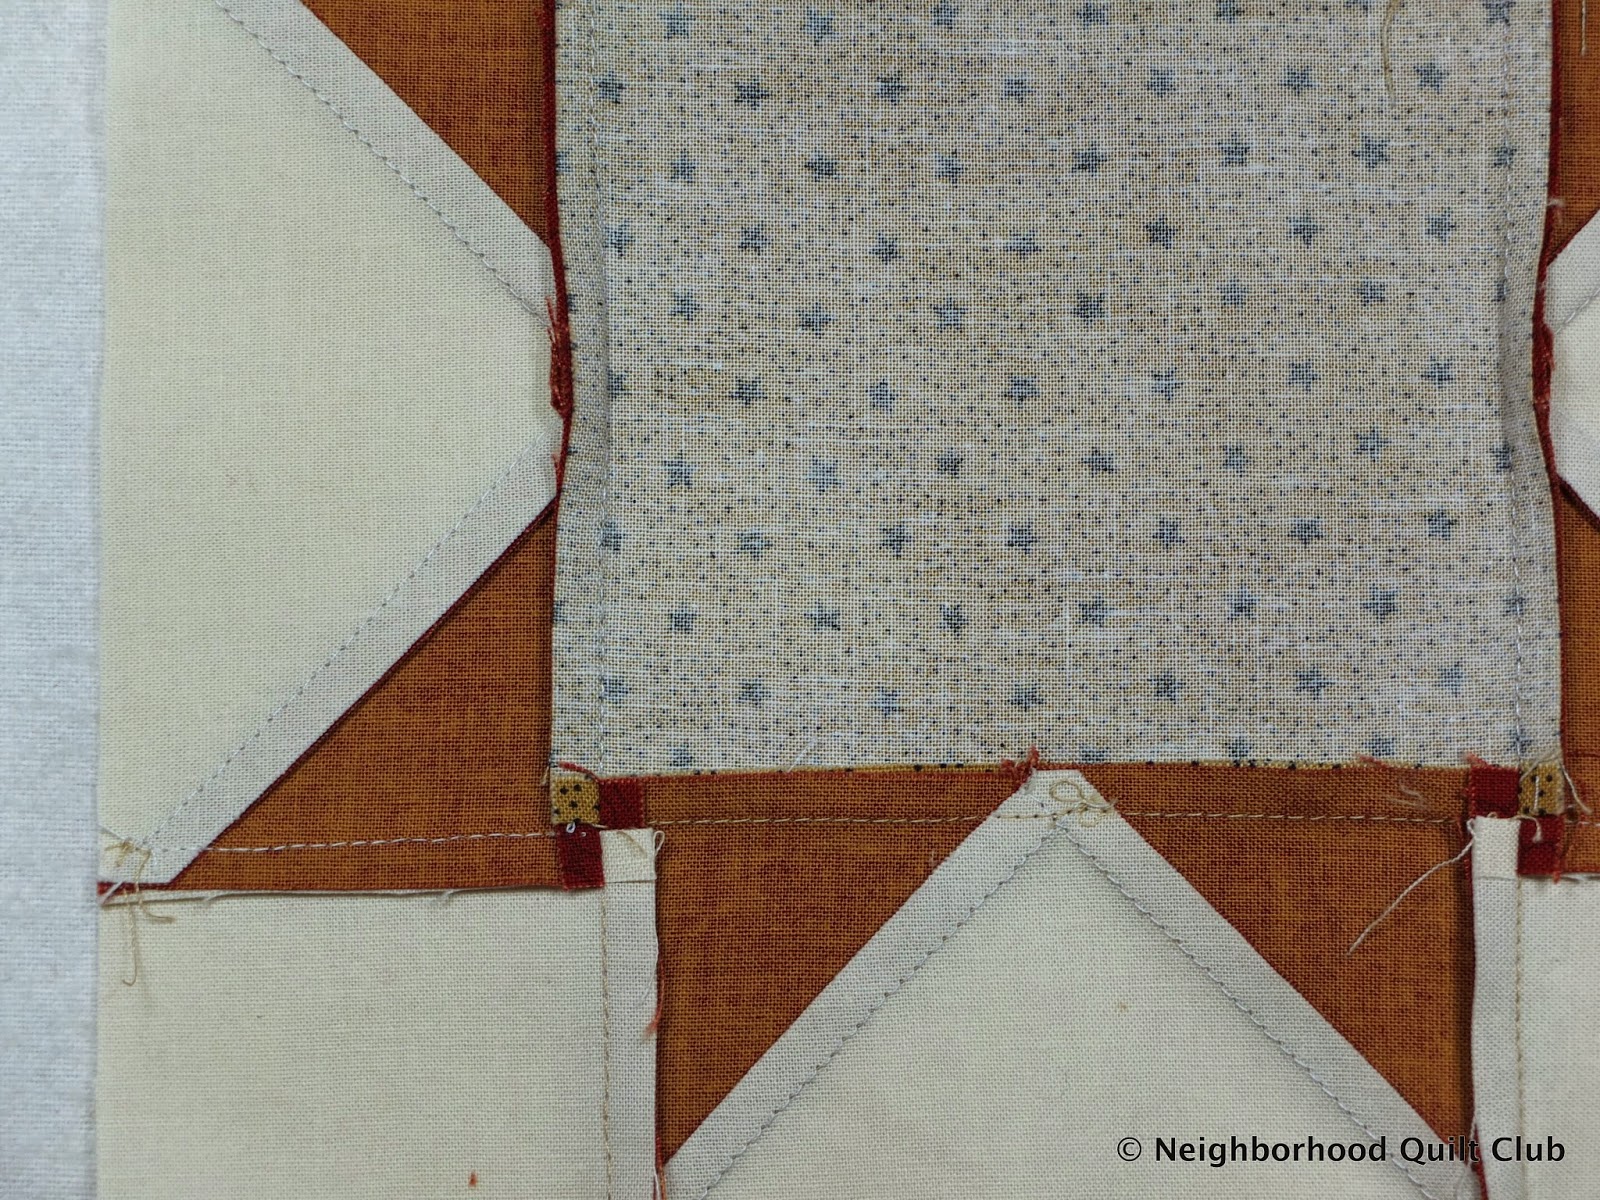
| Match the point of your Flying Geese unit to the seam between the half-square triangle and the bottom Flying Geese unit. It's important to place a pin through the point and into the seam. This will help match the point to the seam. |
Sew a scant 1/4" seam. Do this on both units.
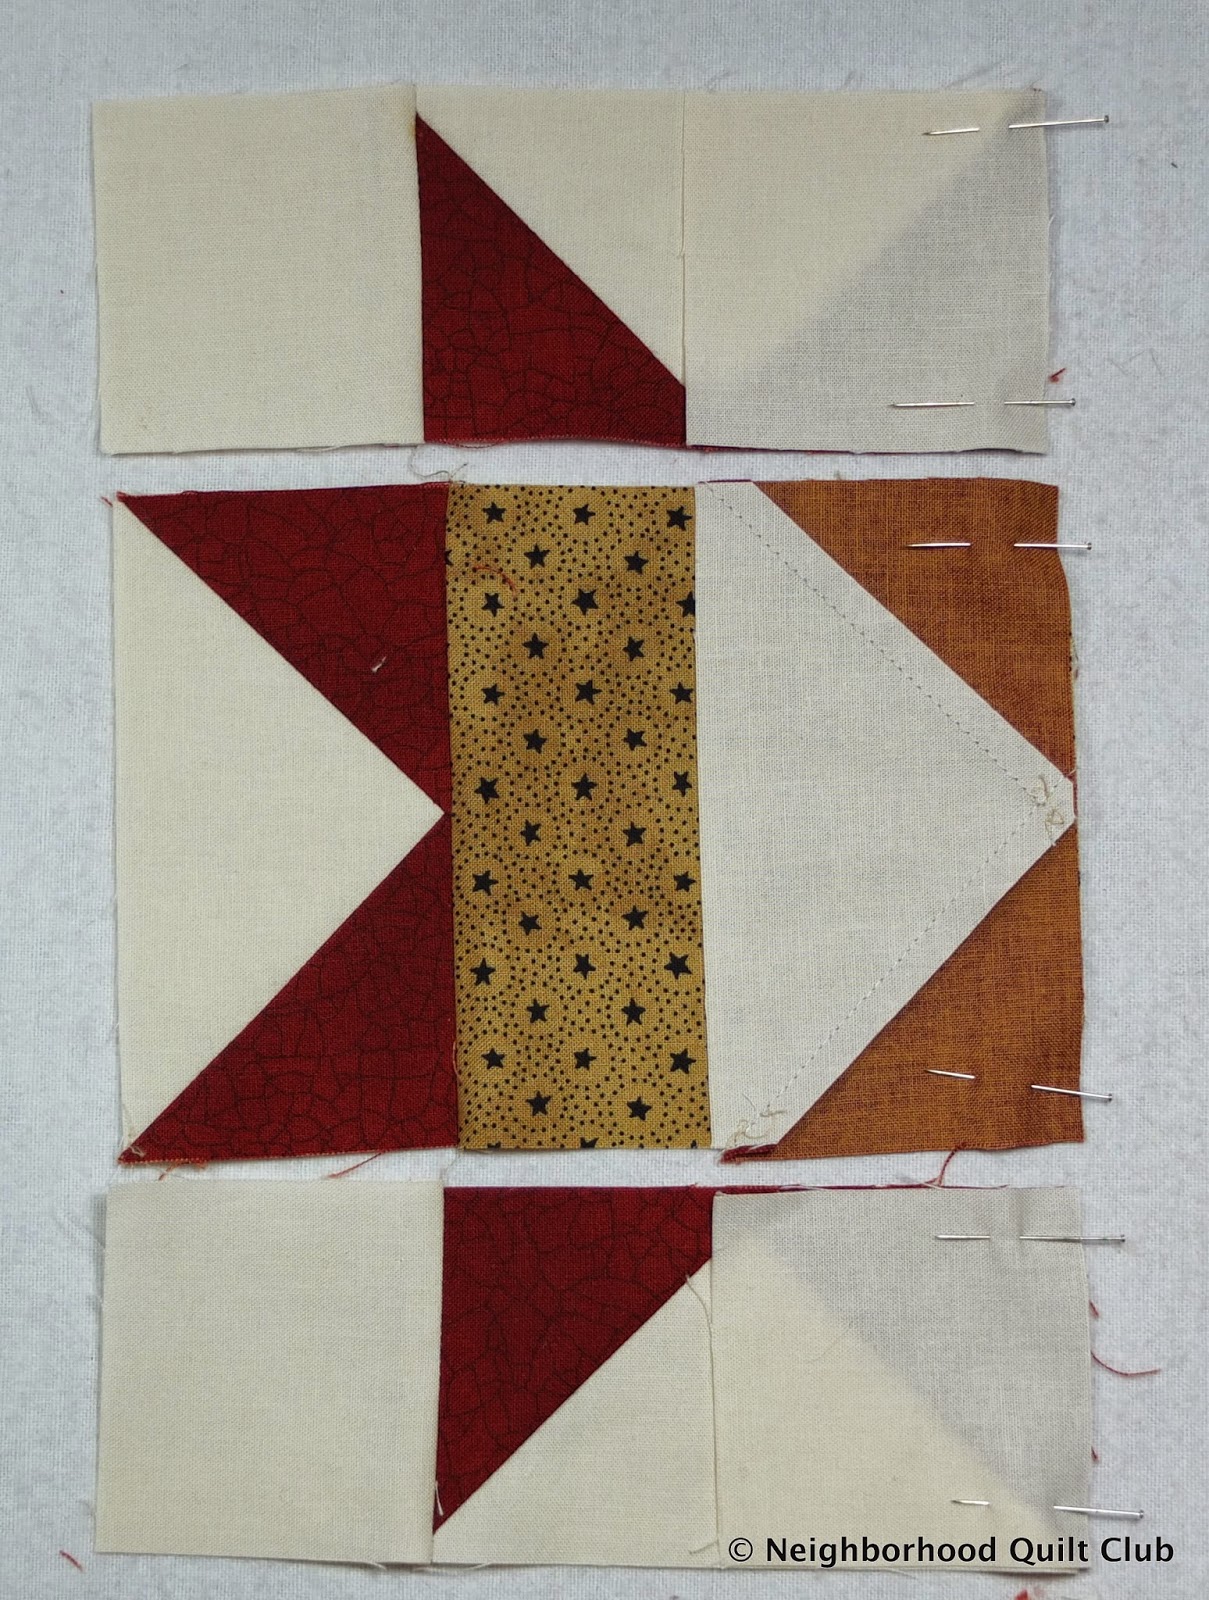
 |
| Press open and place it back on the board. Sew the other Flying Geese unit as shown in the photo. |
 |
| Press seams open. Almost done! |
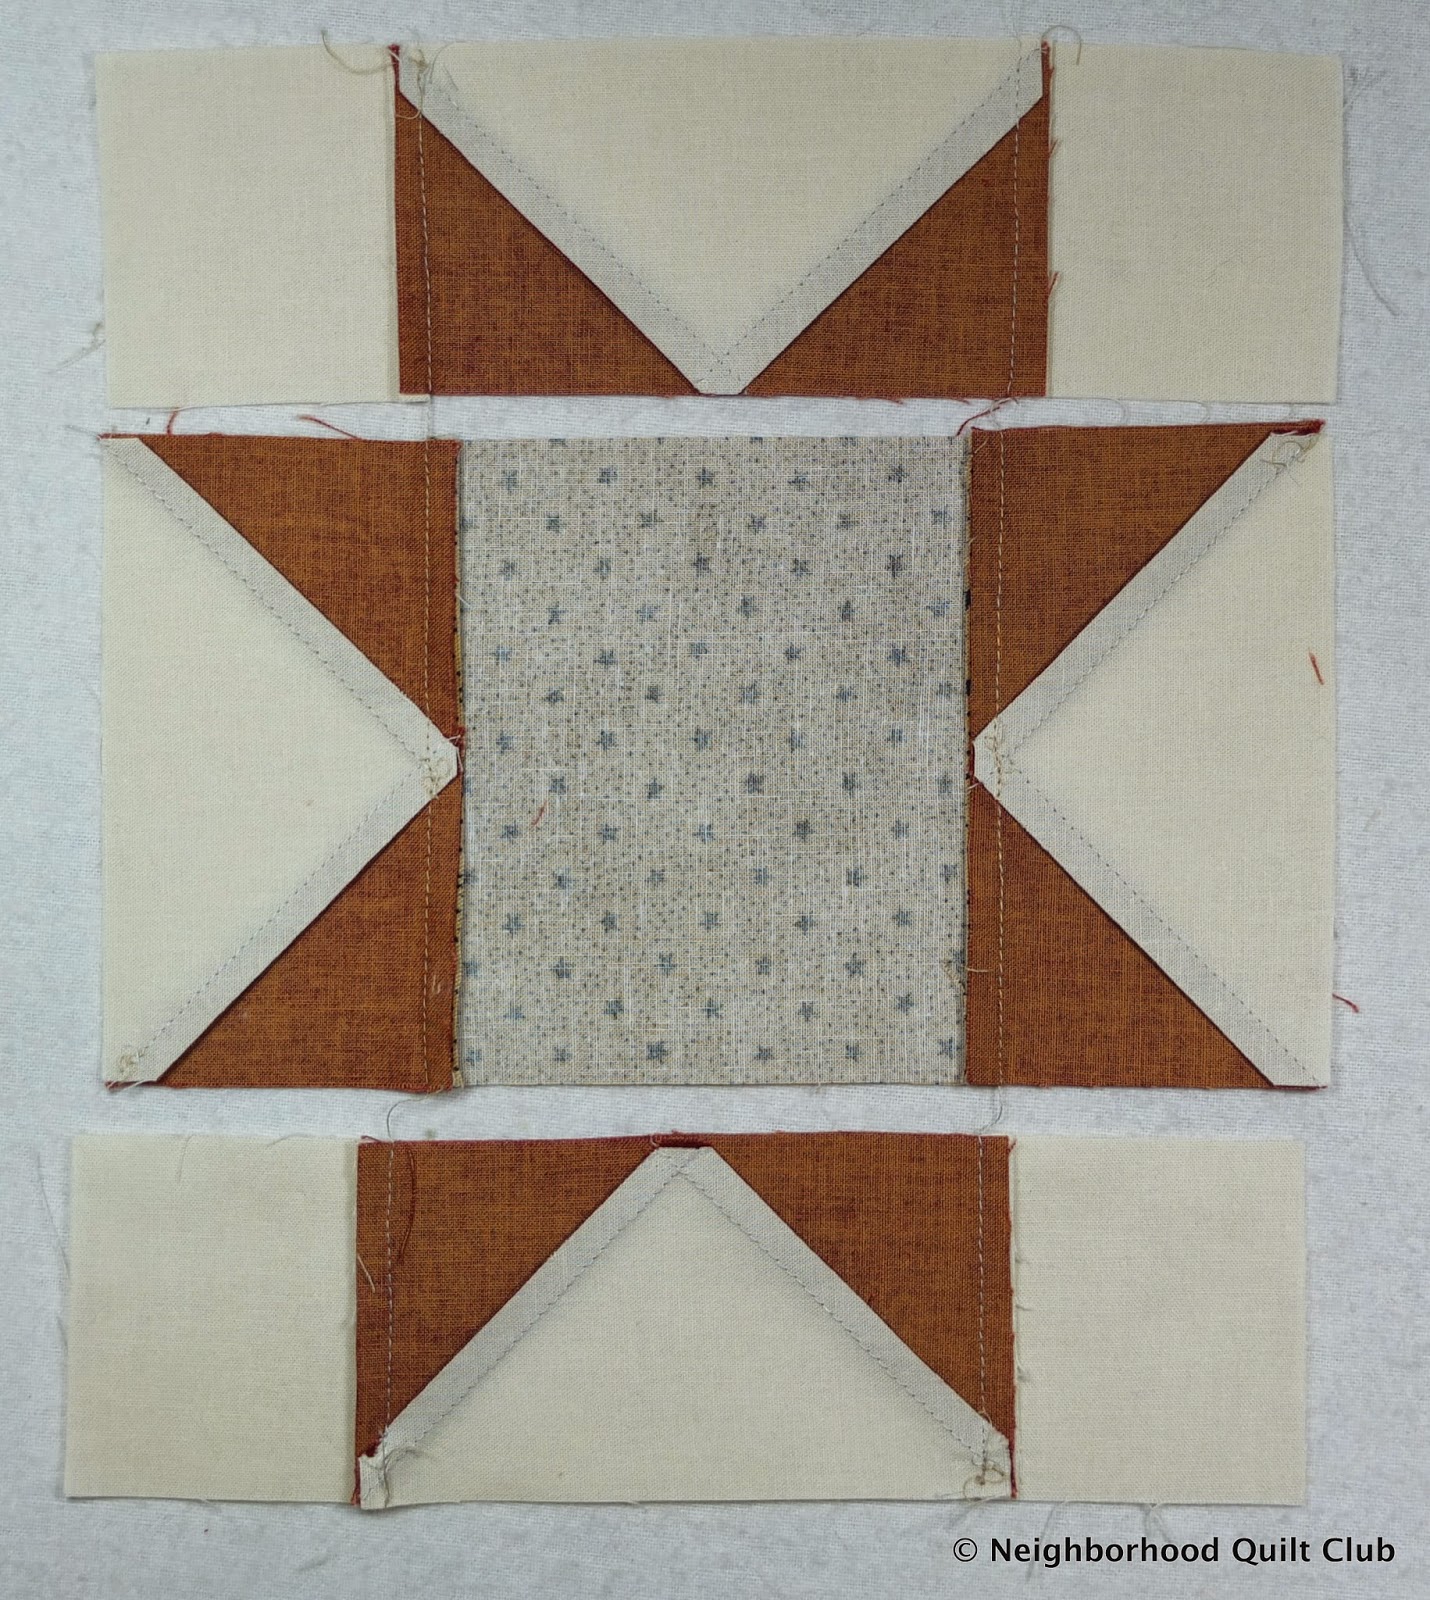
 |
| Pin the two halves of the block together, matching the seams. |
Sew a scant 1/4" seam.
|
| Press open and trim to 8 1/2" |
You're all done!
If you have any questions please leave them in the comments below and I'll be sure to answer them.
Update: Reader blocks! Thanks for sending your photos to share!
 |
| Jaime's colorway |