 |
| Pinwheel Star |
Anne sent out a great tutorial, this one is a bit different from hers so you can choose which method works best for you.
I'm using printed paper to make my half-square triangles. I downloaded and printed the 3" Half-Square Triangle Paper from Block Central. I like to use a light weight paper like tracing paper or special paper for paper piecing. This time all I had was regular copy paper. Oh, well! It still works, it's just a bit more difficult to remove the paper from the fabric.
Cut from background fabric
(A1) one 8 1/4" x 8 1/4" square
(A2) one 8 1/4" x 4 1/4" rectangle
(A3) four 3 1/2" x 3 1/2" squares
Cut from color 1 (mine is red)
(B) one 8 1/4" x 8 1/4" square
Cut from color 2 (mine is green)
(C) one one 8 1/4" x 4 1/4" rectangle
 |
| All cut out and ready to start. Notice that the four pieces in the top row (A1, B, A2, and C) are all rough cut. They don't have to be cut to exact measurements because we will be sewing the lines on the paper and cutting out the pieces AFTER they are sewn. |
Layer A1 and B right sides together with A1 (the darker fabric) on the bottom. Do the same with A2 and C.
 |
| Place a full sheet of Half-Square triangle paper on top of the stack with A1 and B. Place a half sheet of Half-Square triangle paper on top of the stack with A2 and C. Pin in places that do not have dotted lines. You'll be stitching on the dotted lines. |
 |
| This is what it looks like on the back of the A1/B pieces. You can see the stitching ends up looking like a diamond. |
 |
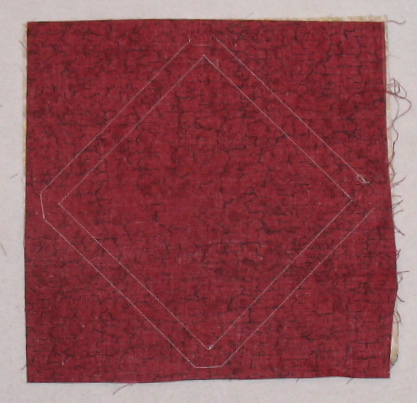
| Place on your cutting board with the paper side up. Trim on all the solid lines. It should look like the photo above when you are done. |
 |
| The pieces on the left show the wrong side of the fabric with the seam pressed towards the dark side. See how the paper triangle is not bent at all? The pieces on the right side still have the paper on the back. One reason I love this method is that the diagonal stitching line, which is on the bias, is stabilized and very straight. I never have any distortion of my half-square triangles on the pressing table when using this method. |
 |
| Bend either the seam allowance of the paper or the large triangle towards the other side. You are making a crease on the stitching line so that it will weaken the paper and make it easier to tear off. |
 |
| I started tearing the paper so you would see what it looked like. It doesn't matter if you tear off the seam allowance of the paper or the big triangle. |
Putting the block together
Arrange the half-square triangle units to form either a.....
 |
| Pinwheel Star |
 |
| Martha Washington Star |
I've decided to sew a Pinwheel Star. If you notice in the Pinwheel Star photo above, the red fabric is directional. That means that it has a specific direction to the print.
I was careful to place the triangles so that the direction would be the same and the point of the star would look uniform. It probably wouldn't have been very noticeable with this fabric if I hadn't been fussy about it because the direction of the pattern isn't 'in your face' loud. But if you have a big print or a print with stripes, be careful how you place your half-square triangles.
The green fabric has a large print, which is why I didn't choose it for the stars. I didn't think a seam through two half-square triangles would have complimented the star part of the pattern. It works well for both the center of the Martha Washington Star and the points of the Pinwheel Star.
Sew the rows together and press.
 |
| Press seams in opposite directions so they will nest when you sew the rows together. The yellow arrows show the direction I pressed my seams. |
Next sew the rows together and press your block.
It should measure 12 1/2" square.
|
| This is my finished Pinwheel Star. |
Thanks Anne! This block was fun to sew and I love the way it turned out!
I tried quilting and sewing a few years ago. I received my aunts sewing machine when she died and I have my mom's sewing machine from when she died. I am waiting until I turn 50 to start up again. This will be my dream blog! LOL...Nice to find it. T:)
ReplyDeleteSo glad you stopped by! I'm turning 50 this week :) Before you start sewing again, find a reputable dealer/repair person and have them completely clean and check one of the machines. I would be awful to be frustrated starting a new hobby because an old machine needed to be freshened up. Our repairman made my serger like new last year, after it almost seized up completely!
ReplyDelete